Pages

Monday 21 January 2013

Snap, Crackle and Pop?!


Gone are the days of only having one possible finish with nail polishes. The crackled nail effect has been around for a little while now, and perhaps one of the most noted brands that have done this is OPI. I was lucky enough to receive their Gold Shatter nail polish as part of the Elle goodie bag from the Clothes Show, for which I paid £2 for and got around £30 worth of products essentially for free. Not to mention a tonne of Elle Magazines! To buy this normally however, it would set you back £11 plus postage if like me, you don't live near an OPI stocklist.


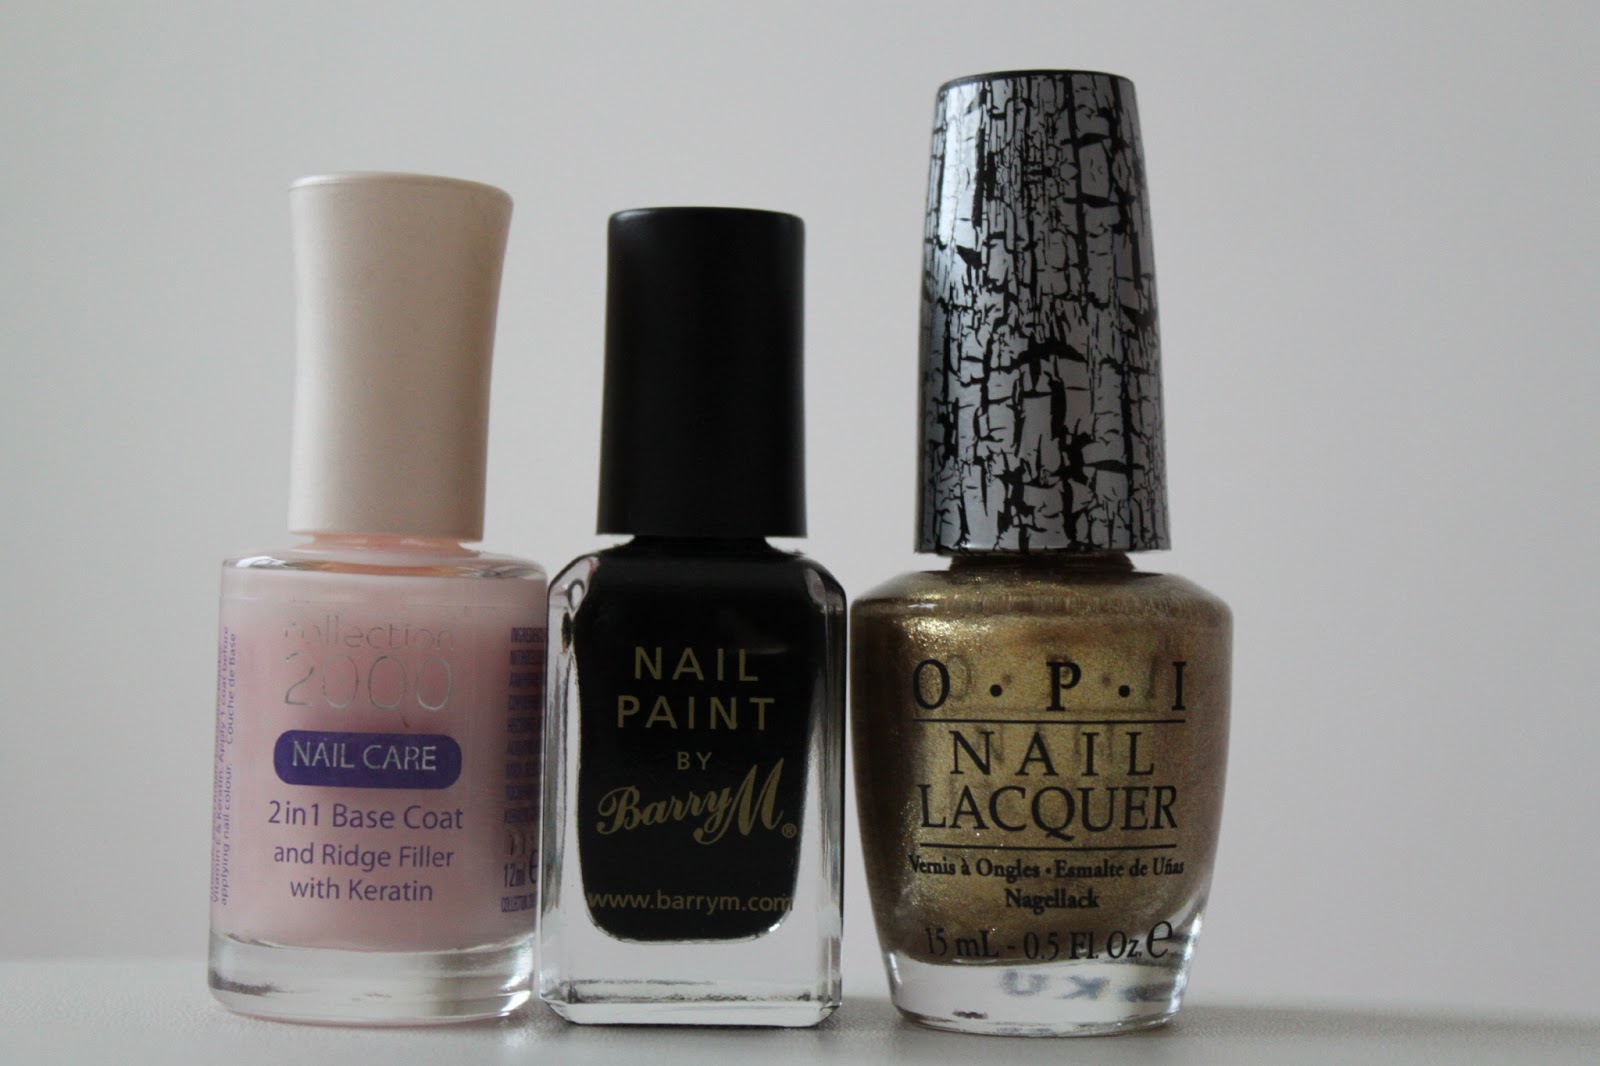
I first applied my trusty collection 2000 basecoat, followed by 2 coats of a black Barry M nail polish. I should say that normally I would never wear a black nail polish on it's own against my pale skin, as I find it incredibly draining. However, given I was pairing it with a gold polish, I felt black would be the best option as not that many colours would work with such a bold top coat.

After letting my black nails set for a good 20 minutes so that they were touch-dry, I applied the gold overlay. I really wasn't sure what to expect, and was fascinated to see the polish literally break away from it's itself infront of my eyes. However, I noticed some nails struggled to separate and had started to dry with just one split down the middle, so I had to push some of the polish away myself in order for it to give the crackle effect. This was a little disappointing, as on my thumb in particular... it had really worked well, yet a couple of my nails had hardly moved so the results were a little uneven.


Overall, I am not sure whether I like this product or not. It's not what I would typically go for within a nail polish look, however it's always fun to try new things and different effects. I think it's definitely down to personal taste whether this look is for you or not. As for the price point, £11 is quite steep however I think you can definitely tell within the quality of the brush and the way the bottle is designed also, it feels more luxe that my regular high street bottles that's for sure! This is definately a product for those who like to mix things up.

Interested in buying this polish? You can find it here

Monday 14 January 2013

How I Store My Make Up!

Recently, I've been re-arranging my room. It's no secret that I love my make up, and over the years I seem to have acquired quite alot of it! From palettes to polishes, eye shadows to lipglosses... where on earth do I keep them all so they are all in one place and organised?

Well, take a look!.....


Firstly, I use a multi-draw storage box to keep the majority of my products, which are organized according to what part of the face they are for... i.e a "Lips" draw and a "Face" draw, for foundations and powders. I realise this makes it look like I own an alarming amount of make up, but infact this draw stands at less than a meter high and is fairly lightweight (something I was eternally thankful for when moving between/out of my uni accommodation!).  As you can also see, I keep a clear glass case on top for any extras (mainly along the lines of Hairspray, handcreams and anything else that's generally too bulky to keep in the draws).


Here is the contents of the 6 draws as they currently stand...


More recently, I also decided I really wanted a separate brush and nail polish holder, preferably a clear plastic one. I have seen so many bloggers and youtubers with them, which made me want them even more as they fit pretty much any room and any colour scheme. I got the brush holder from muji for around £8 including postage. The nail polish holder I bought from Amazon for around £13.


Remember The Clothes Show post I did? (If not, go check it out.. it's about 3 posts back!) well I ended up with some really lovely carrier bags which I decided to use to my advantage and create my own little "Nail Shelf"... with the addition of some Dior perfume to keep the polishes company.


And that pretty much concludes how I store my make up! How do you store yours?

Monday 7 January 2013

Old School Hollywood


I have long been a fan of the old school Hollywood look. There was something so classy about the women of the 20's, 30's, 40's and 50's that isn't always so apparent in today's world. It wasn't just the way they conducted themselves and they way they dressed - the makeup was also much more about being sophisticated and generally understated, rather than "plastering it on" and "more is more" as is often the case these days. That doesn't mean to say a red lip was out of the question though, most famously sported by the likes of Marilyn and Audrey.

More recently, celebrities such as Christina Aguilera and Angelina Jolie have really revived this look and made it relevant again. Back to Basics is definitely one of my favourite albums of all time, and many people who are not generally a fan of Ms Aguilera say the same. The album heavily channels all things past in terms of blues, jazz and soul and this transcends beautifully into the looks Christina portrayed throughout the album cover and tour makeup. Everything was old school with that little bit of a Christina twist.


Watch the Back to Basics into here:


When creating my own paleskinmakeup take on this look, I noticed that it required 3 vital things: A flawless base, a red lip and quite matte off white/pink on the eyes. Of course a more modern take would include a heavier eye, however I am keeping it "old school" as the likes of Marilyn would! To begin, I set my hair in heated rollers whilst I prepped the skin and got to work. (It's a good idea to get everything you intend to use out infront of you whilst your hair is setting, if like me your makeup collection spans your entire room and there's always something you can't find!)

Prep:

- Nivea Oil Free Moisturizer

- Clarins Daily Energizer Wake-Up Booster
- MUA Oil-Free Primer

Base:

For my base I custom mixed 2 foundations, to get the shade right but also get the flawless finish of a mac foundation.

- Mac Studio Sculpt Foundation - NC15

- Dainty Doll Liquid Foundation - 001
- Collection 200 Concealer - 1 Fair
- Collection 2000 Pressed Powder - 18 Ivory

- Diorshow Powder - 005 (A blusher, but used as a contour)

- Sleek Blusher - Rose Gold
- 17 Blusher - First Flush (Just a tiny bit pressed on over the top)

Eyes:

I experimented with quite a few products here. Aiming for quite a matte finish, but with a slight contrast with a lighter shade/light reflection in the inner corner. To achieve a similar look, you do not need to use as many products. However using a pure white or similar shade first as I did is advisable to help prime the lid for the colour you intend to use.


- Estee Lauder 01 Pink Flash (Shimmer) - My base
- Barry M Shimmering Eye Crayon - 5 
- Models Own Eye Shadow - Pearl Pink
- Bourjois Eyeliner Pencil - Silver
- Models Own Eyeliner Pencil - Black
- Collection 2000 Multiplier Mascara

- Anstasia Brow Kit


Lips

- Models Own Lip Pencil - Red
- Barry M Lipstick - 121
- Sleek Glossed Lipgloss - Bitten


And for the finished result!....(Pale skin style, of course)